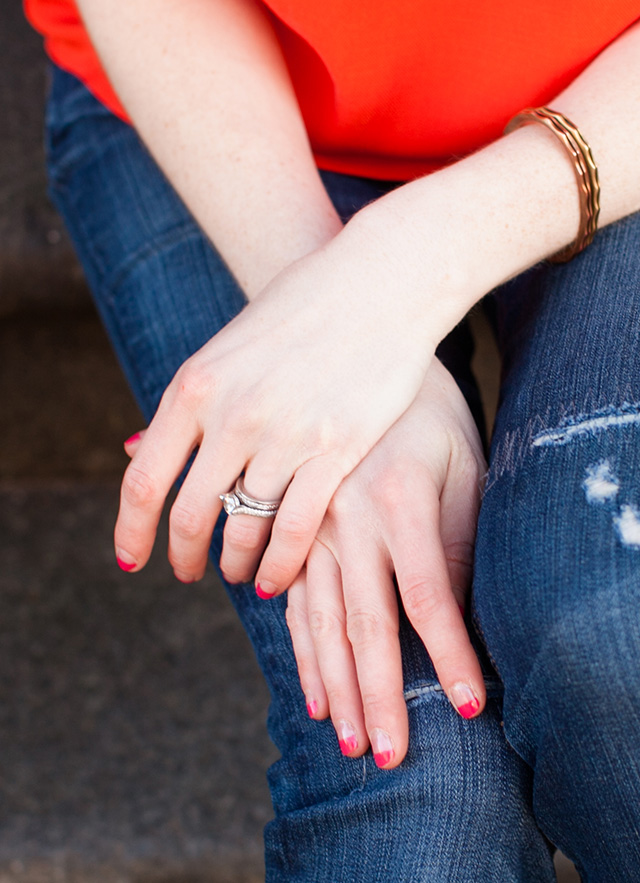
Two weeks ago, my friend Sheri and I were supposed to meet in New York City for a nosh in Soho and modern manicures at Paintbox. I was equally excited about getting in some quality girl time with Sheri and getting my nails color blocked and bedazzled.
Not exaggerating, I’d been poring over Paintbox’s selection of nail art designs online for weeks.
Unfortunately, Mother Nature decided to dump 10 inches of snow on us that day, canceling our kids’ schools and making travel into the city virtually impossible. Rather than spend the day staring at my naked nails, however, I decided to try a Paintbox-inspired color block manicure at home. After some trial and error, I figured out a relatively easy way to give myself a French manicure with color blocking.
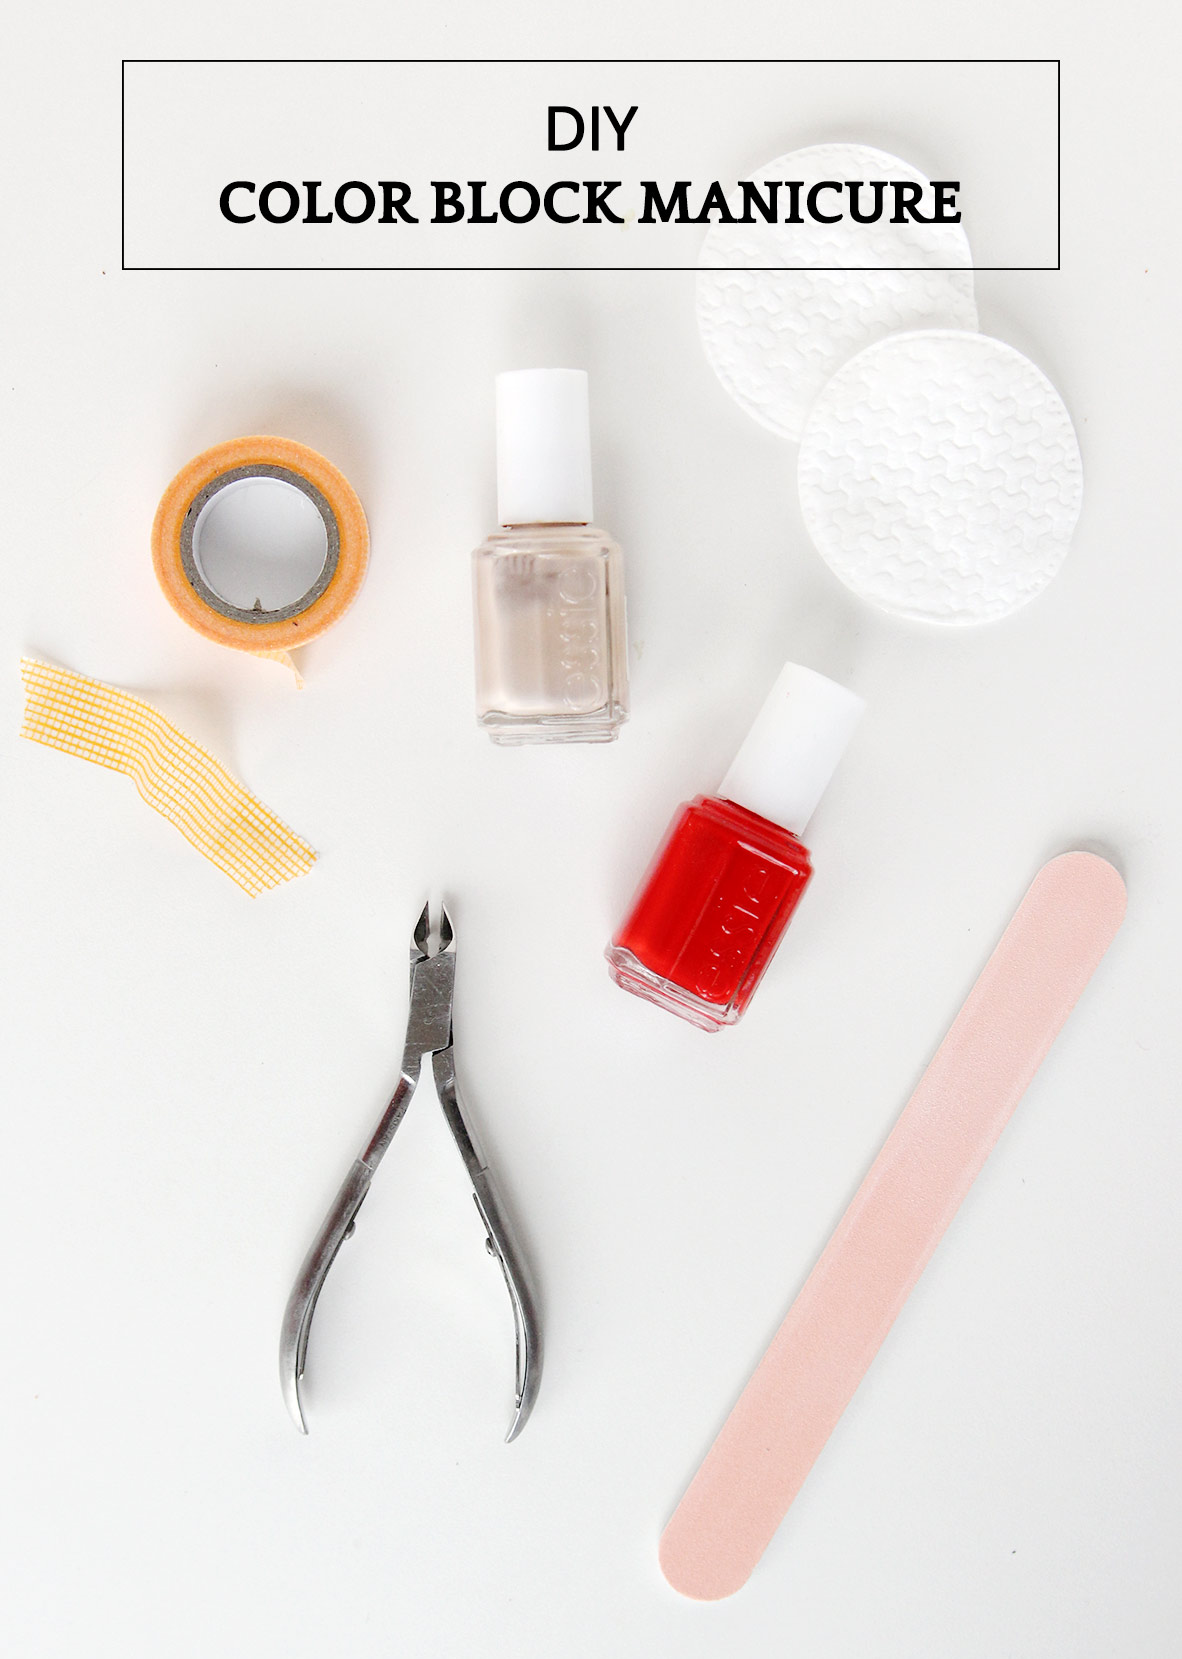
Want to try your hand at a DIY color block manicure? Don’t be intimidated! Here’s what you’ll need:
- Nail polish remover and cotton pads
- Base coat
- Pale or nude nail polish
- Dark or bright nail polish
- Top coat
- Washi tape
- Quick -dry drops (optional)
Before you do anything, swipe a cotton pad soaked in nail polish remover across each nail to remove any oils or dirt.
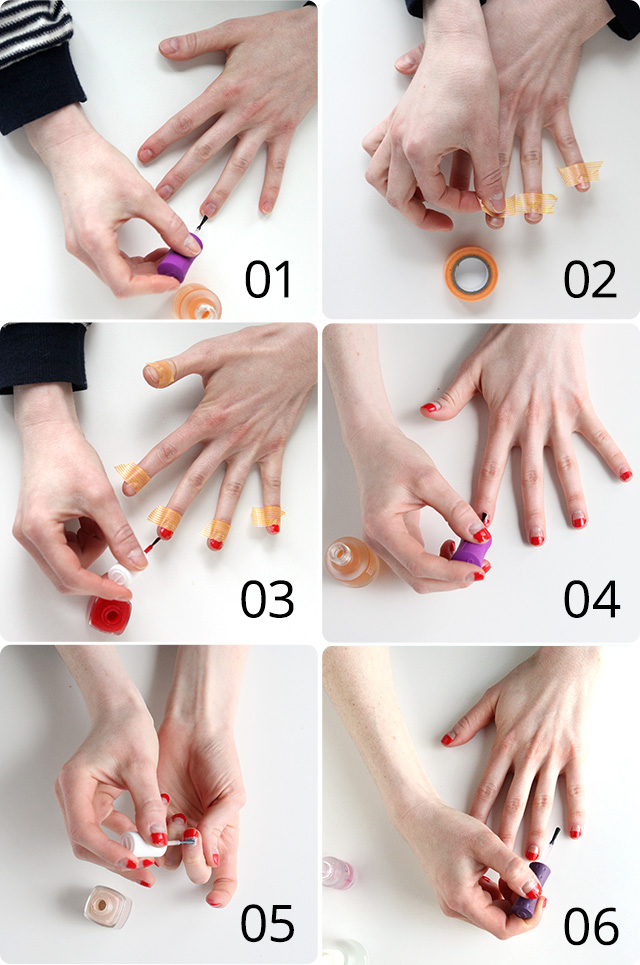
01. Apply base coat from cuticle to tip and wait until nails are completely dry. (I like Orly Bonder.) Then wait a few minutes longer.
02. Cover bottom half of nails with washi tape. I prefer washi tape to regular tape because it’s less sticky. Don’t bother breaking out the ruler; the division doesn’t have to be exactly even.
03. Using vertical strokes, paint nail tips with two coats of bright nail polish, waiting for polish to dry between coats. Here I’m using Essie Lacquered Up.
04. Remove washi tape while second coat is still wet. If any base coat from the bottom half of your nails comes off with the tape, gently tap on a little bit more, taking care to stay below the painted line.
05. Using horizontal strokes, apply two coats of pale nail polish to the unpainted half of your nails, using the line of bright polish as your guide (it will feel slightly raised as you brush against it). Essie Au Natural has a lovely subtle shimmer.
06. Wait (and then wait some more) for polish to dry before applying top coat. If you notice any of the bright color transferring to the pale color, try cleaning the brush or letting the polish dry a little bit longer. I’ve had success with Orly Won’t Chip Topcoat.
As the final step, I add a drop of Orly Flash Dry to each nail about minute after applying my top coat. It really does speed up the drying process!
Now you may be wondering why I don’t simply paint my entire nail with beige polish, cover the bottom half with tape, then paint the top half with the red. It would save a bunch of steps, right? Well, I have two reasons.
- The thicker the nail polish, the quicker it chips. Two coats of dark over two coats of light equals four coats of nails polish on the top half of your nails. That’s just too thick, in my opinion.
- I’ve never successfully removed strips of washi tape (or Scotch tape or painter’s tape) placed directly on nail polish without pulling up some of the color, too. Perhaps it’s because I don’t wait long enough for the color to dry, but I’m impatient and don’t want to spend hours on my nails.
So what do you think? Are you a fan of manicures with nail designs or are they too trendy for your taste? Would you give this DIY color block manicure a go?
(If you do, share your photo on Instagram and use the hashtag #AGirlNamedPJmani!)
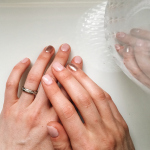
PS - My first attempt at an ombre manicure!
(top photo by the amazingly talented Megan Tsang for an upcoming outfit post!)


Leave a Comment